Overview
The workspace management section allows workspace owners and admins to control their workspace settings, members, and overall configuration. This is accessed through your profile settings and provides comprehensive workspace administration tools.
How to Access Workspace Management
Step 1: Navigate to Settings
- Click on your profile menu in the top right corner
- Select Settings from the dropdown menu
- You'll see the main Settings page with a sidebar
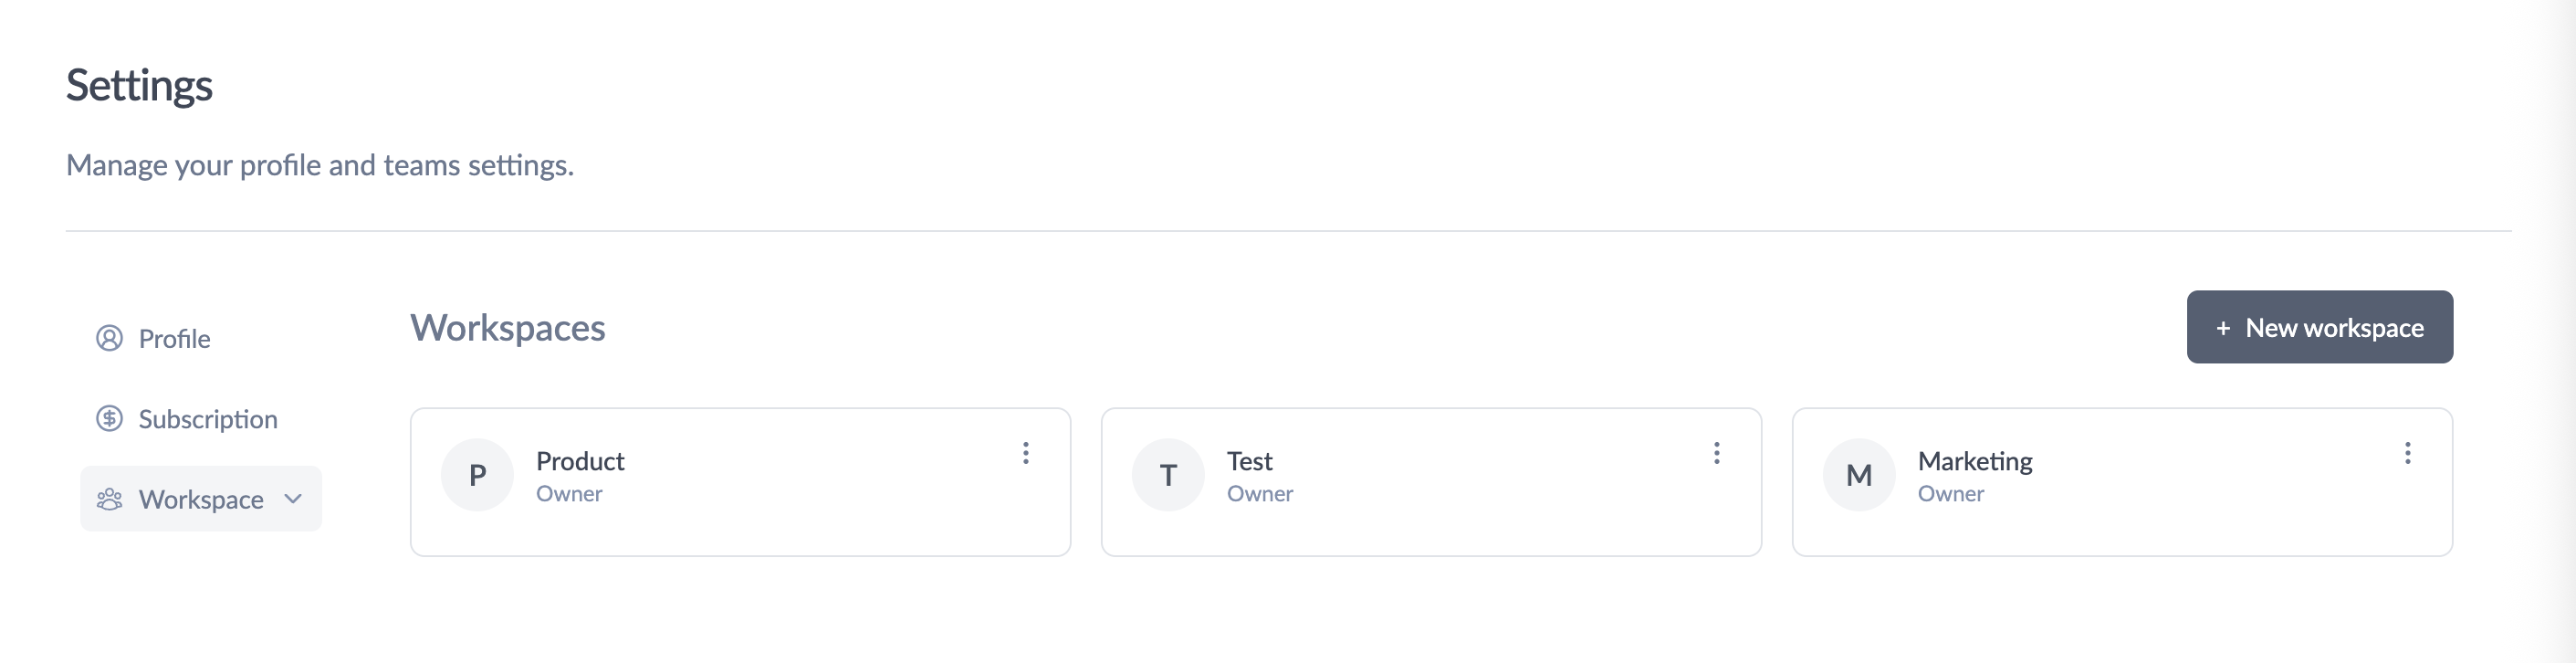
Step 2: Access Workspace Tab
- In the settings sidebar, click on Workspace
- You'll see a grid view of all your workspaces
- Each workspace shows its name, avatar, and your role (Owner, Admin, or Member)
Step 3: Select a Workspace to Manage
- Click on any workspace card where you have Owner or Admin permissions
- The page will navigate to that workspace's management interface
- You'll see tabs for workspace details, members, and settings
Workspace Management Features
Workspace Grid View
- Shows all workspaces you belong to
- Displays workspace name, avatar, and your role
- Only workspaces where you're Owner or Admin can be managed
- Hover over workspace cards to see management options
Individual Workspace Management When you select a workspace, you can:
- Edit workspace name and description
- Update workspace avatar/image
- Manage team members and their roles
- View and manage pending invitations
- Delete the workspace (Owner only)
Creating New Workspaces
Who Can Create Workspaces
- Only users with Owner role in at least one workspace
- New workspace creators automatically become the Owner
How to Create a Workspace
- Go to Settings → Workspace
- Click the + New workspace button (appears only if you have Owner role)
- Fill in the workspace details:
- Workspace Name: Choose a descriptive name for your team
- Description: Optional description of the workspace purpose
- Click Create to establish the new workspace
- You'll automatically become the Owner of the new workspace
Editing Workspace Details
Access Workspace Edit Mode
- From the workspace grid, click on a workspace you own or admin
- You'll see the workspace edit interface with multiple sections
What You Can Edit
- Display Name: Update the workspace name
- Workspace Image: Upload a custom avatar or use default initials
- Description: Add or modify workspace description
- Settings: Configure workspace-specific preferences
Saving Changes
- Changes are automatically saved when you update fields
- You'll see confirmation messages for successful updates
- Some changes may require workspace members to refresh their view
Deleting Workspaces
Important Notes
- Only workspace Owners can delete workspaces
- Deleting a workspace is permanent and cannot be undone
- All workflows, conversations, and data in the workspace will be lost
- Members will lose access immediately
How to Delete a Workspace
- Navigate to Settings → Workspace
- Find the workspace you want to delete
- Click the three-dot menu (⋮) on the workspace card
- Select Delete from the dropdown menu
- Confirm the deletion by typing the workspace name
- Click Delete Workspace to permanently remove it
Before Deleting
- Export any important data or workflows
- Notify team members about the deletion
- Consider transferring ownership instead of deleting
- Make sure you have backups of critical information
Workspace Status and Permissions
Role-Based Access
- Owner: Full access to all management features, can delete workspace
- Admin: Can manage members and settings, cannot delete workspace
- Member: Can only view workspace content, no management access
Restricted Access
- Some workspaces may show as "restricted" due to billing issues
- Contact support or update subscription to restore full access
- Restricted workspaces have limited functionality
Douglas Ho
Comments