A workspace holds a set of assistants, the email accounts they use, their Knowledge, and the people who can see them. Most customers have one workspace per team or brand. Everyone you invite joins a specific workspace with a role that decides what they can change.
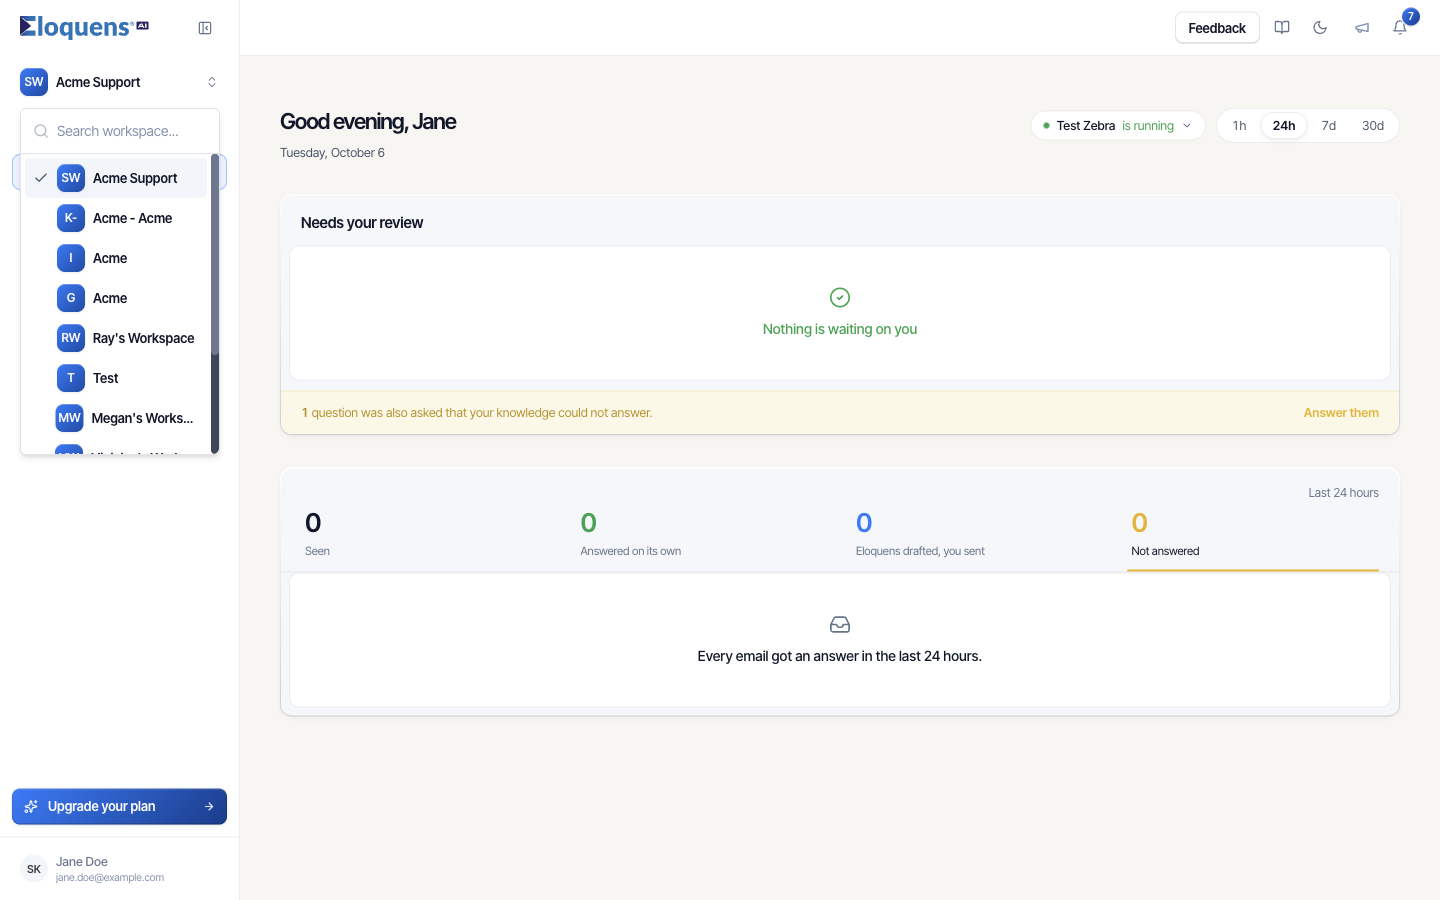
Switch between workspaces
- Click the workspace name at the top left of the left rail.
- Start typing in Search workspace... or pick a workspace from the list. The current one is ticked.
Home, My Assistants, Conversations, Knowledge and Settings all change to the selected workspace. If you are in the middle of editing an assistant, Eloquens asks you to confirm with Switch Workspace so you do not lose unsaved changes.
Roles
| Role | What it allows |
|---|---|
| Owner | Everything in the workspace, including inviting and removing members, changing roles, the workspace name and picture, the Support access approval switch, the Activity tab and the subscription. |
| Admin | Manage assistants, email accounts and Knowledge, invite members and change the roles of Users and other Admins. An Admin cannot change an Owner. |
| User | Work with the assistants: review drafts, read conversations and add Knowledge. Cannot change membership. |
Every workspace has at least one Owner.
Invite a member
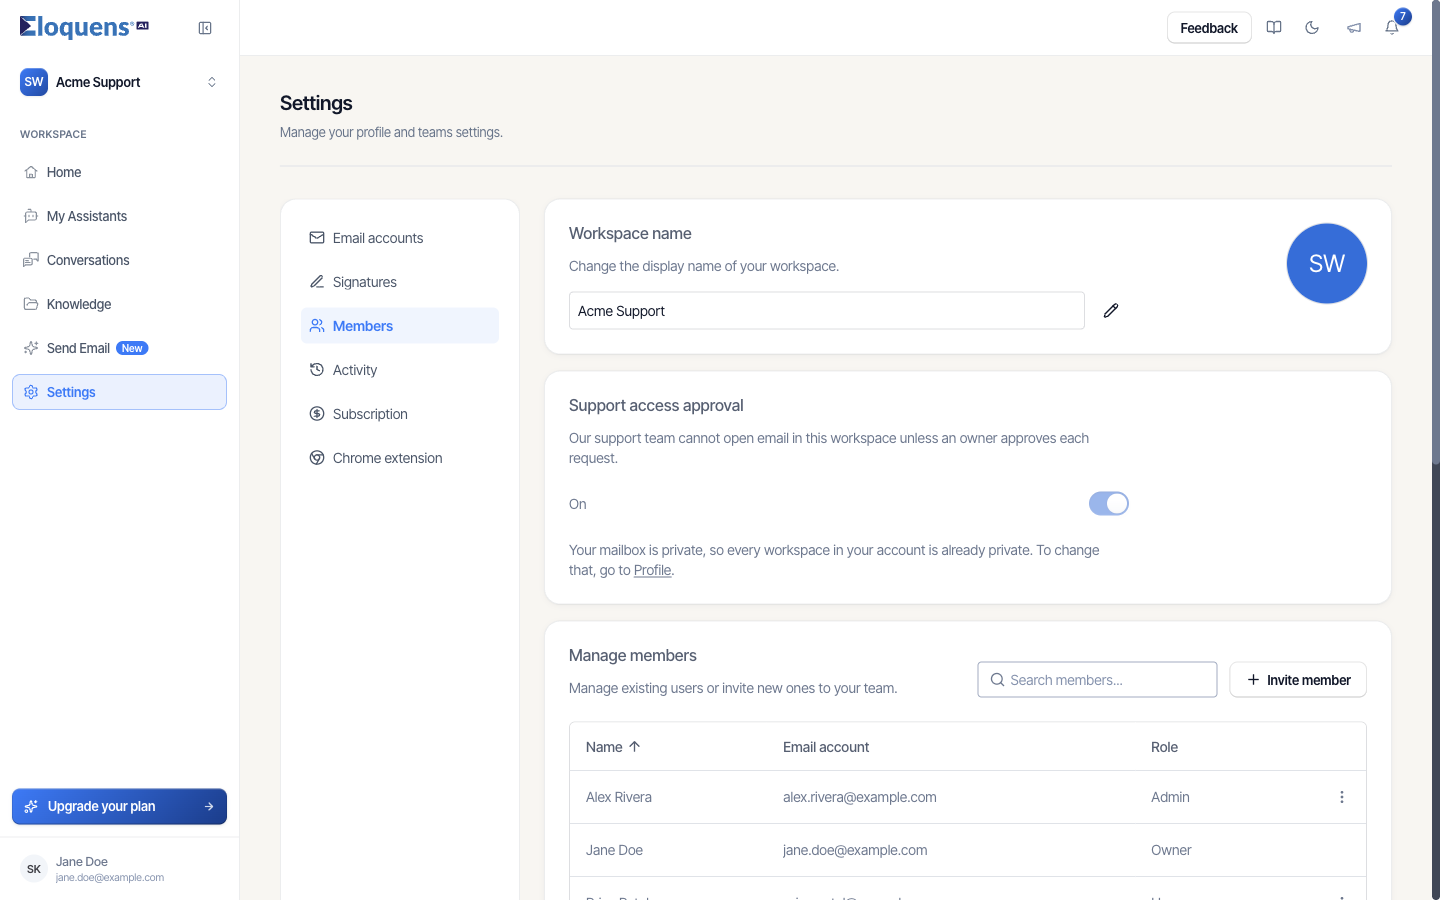
- Open Settings and click the Members tab.
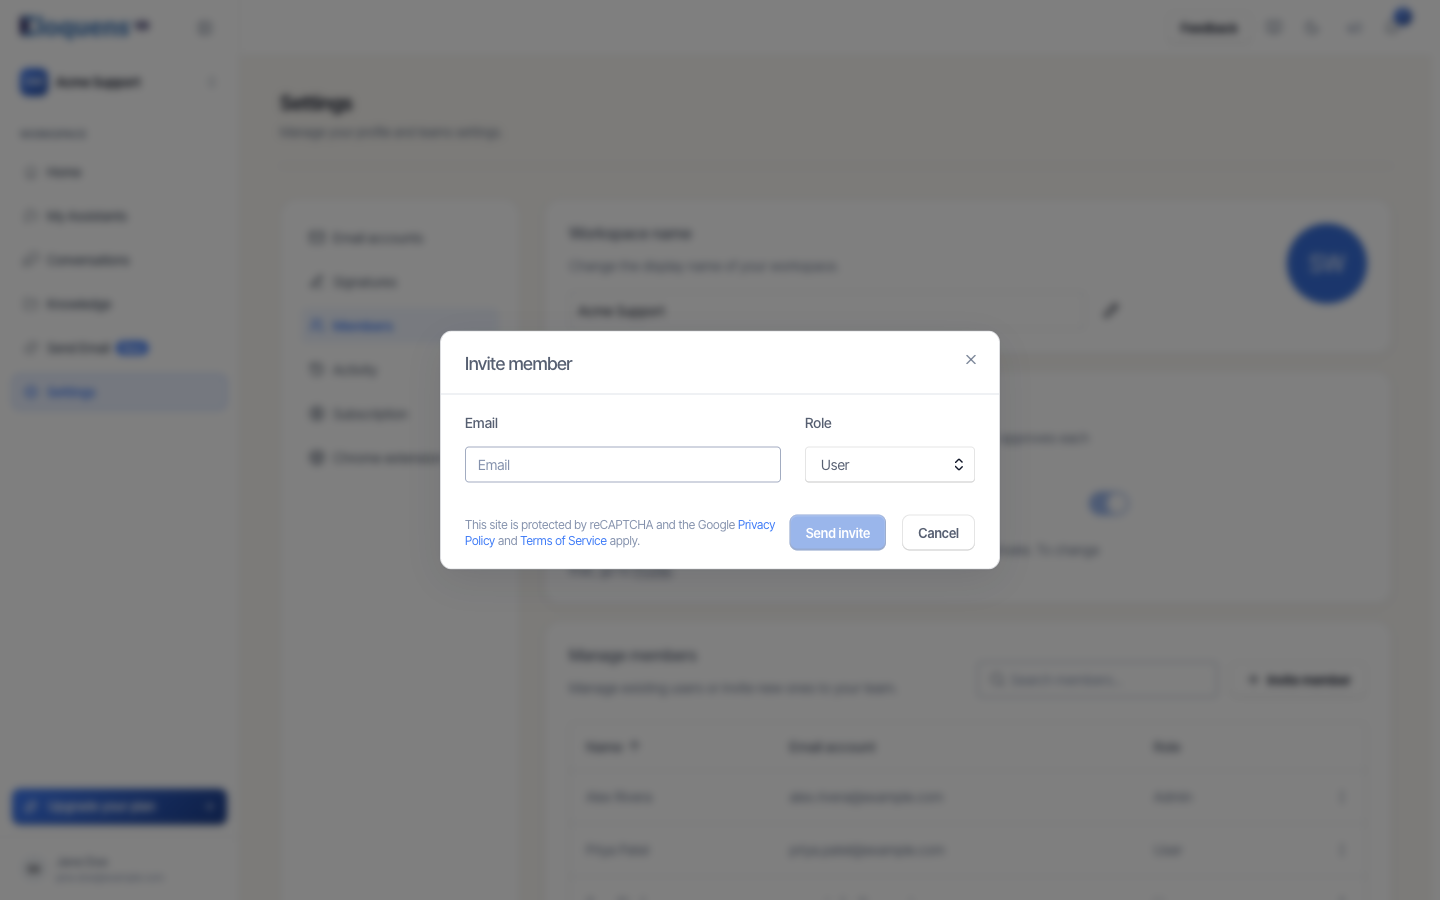
- Under Manage members, click Invite member.
- Enter the person's Email and choose a Role: User or Admin.
- Click Send invite.
The invitation appears under Invites until it is accepted. From its row you can resend the email or delete the invitation.
Change a role or remove a member
- In Settings → Members, open the ⋮ menu at the end of the person's row.
- Choose Edit role to pick a new role, or Delete to remove them from the workspace.
If the person is the one an assistant brings in for routed messages, Eloquens tells you what will be affected before you confirm.
Accept an invitation
The invited person receives an email with a link.
- Open the link. The page names the workspace and shows the role you were given.
- If you are not signed in, sign in or sign up with Google, Microsoft, GFI Kerio Connect, or an email and password.
- Once signed in with the invited address, click Accept Invitation (or Decline).
If you are signed in with a different address, the page says so and offers to sign you out so you can continue with the invited address. An invitation that has already been used shows Already Joined.
Workspace name, picture and support access
At the top of Settings → Members (and Settings → Signatures), the Workspace name card lets Owners change the display name and upload a picture.
The Support access approval card on the Members tab controls whether the Eloquens support team can open email in this workspace. When it is On, support can only look at a message after an owner approves that specific request with an authenticator code. Owners see and act on those requests from Profile, where a history of every request is kept. See Support access requests.
Good to know
- Email accounts in a team workspace can be Shared with all members or kept Private to the person who connected them.
- Your own account settings, password and authenticator app live on Profile, not in the workspace.
- The Activity tab in Settings lists who was added, removed, or had their access changed, and who did it.
Related articles
- Sign in and create your account
- Connect your mailbox
- Settings overview: what lives where
- Support access requests
Soma Konate
Comments