A table is for data that comes in rows: a price list, a parts catalogue, a list of branches with opening hours, a customer or order list. Rather than reading a spreadsheet as prose, the assistant searches and filters the table when a question calls for it, and writes the answer from the rows it finds.
Add a table
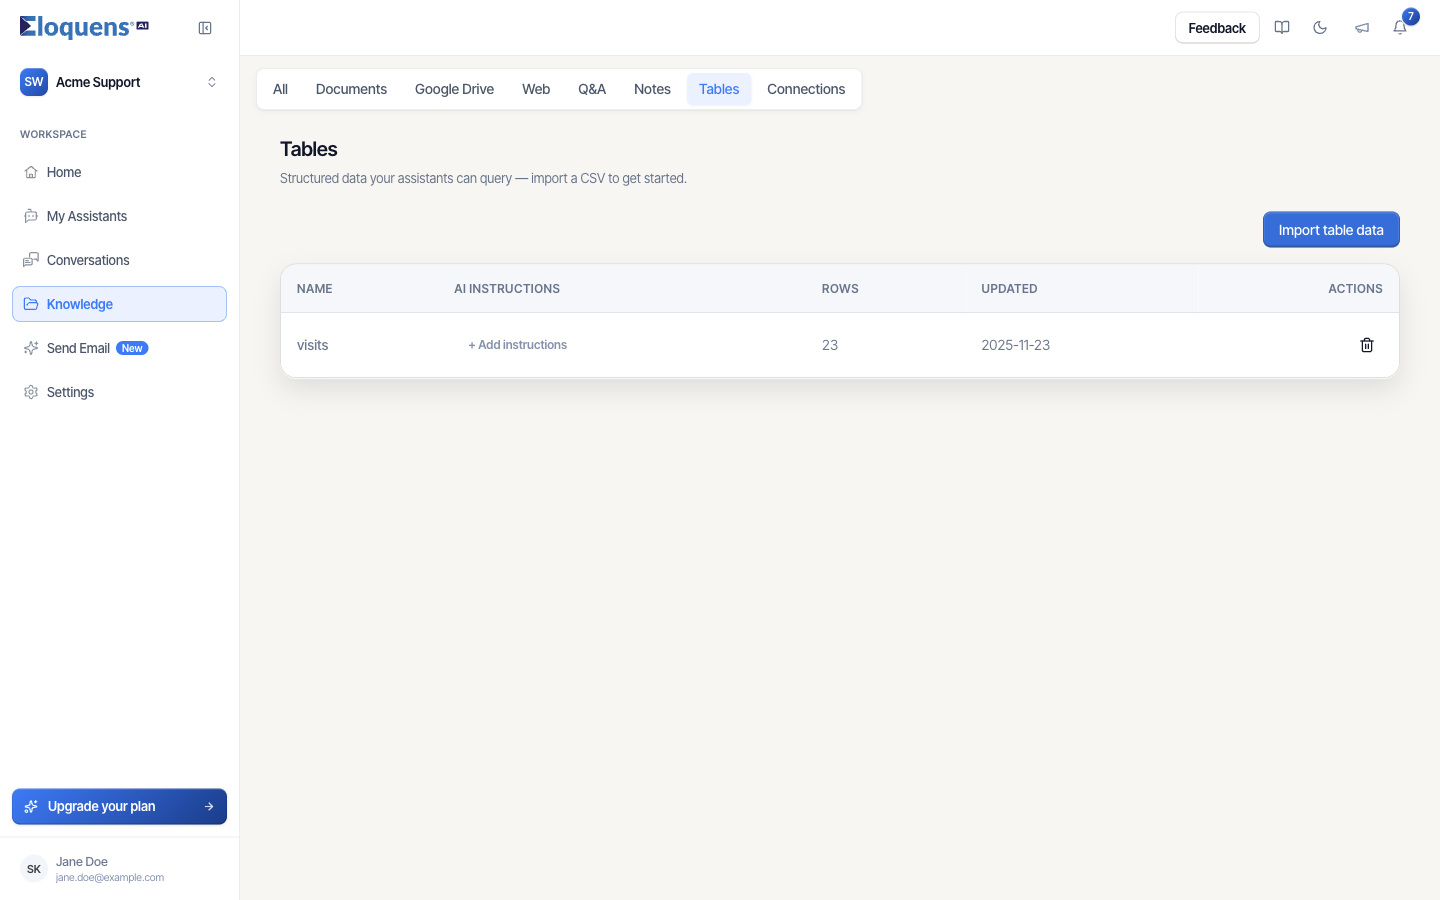
- In the left rail, click Knowledge, then the Tables tab. The page is titled Tables (Structured data your assistants can query — import a CSV to get started.) and lists the workspace's tables with Name, AI Instructions, Rows and Updated.
- Click Import table data.
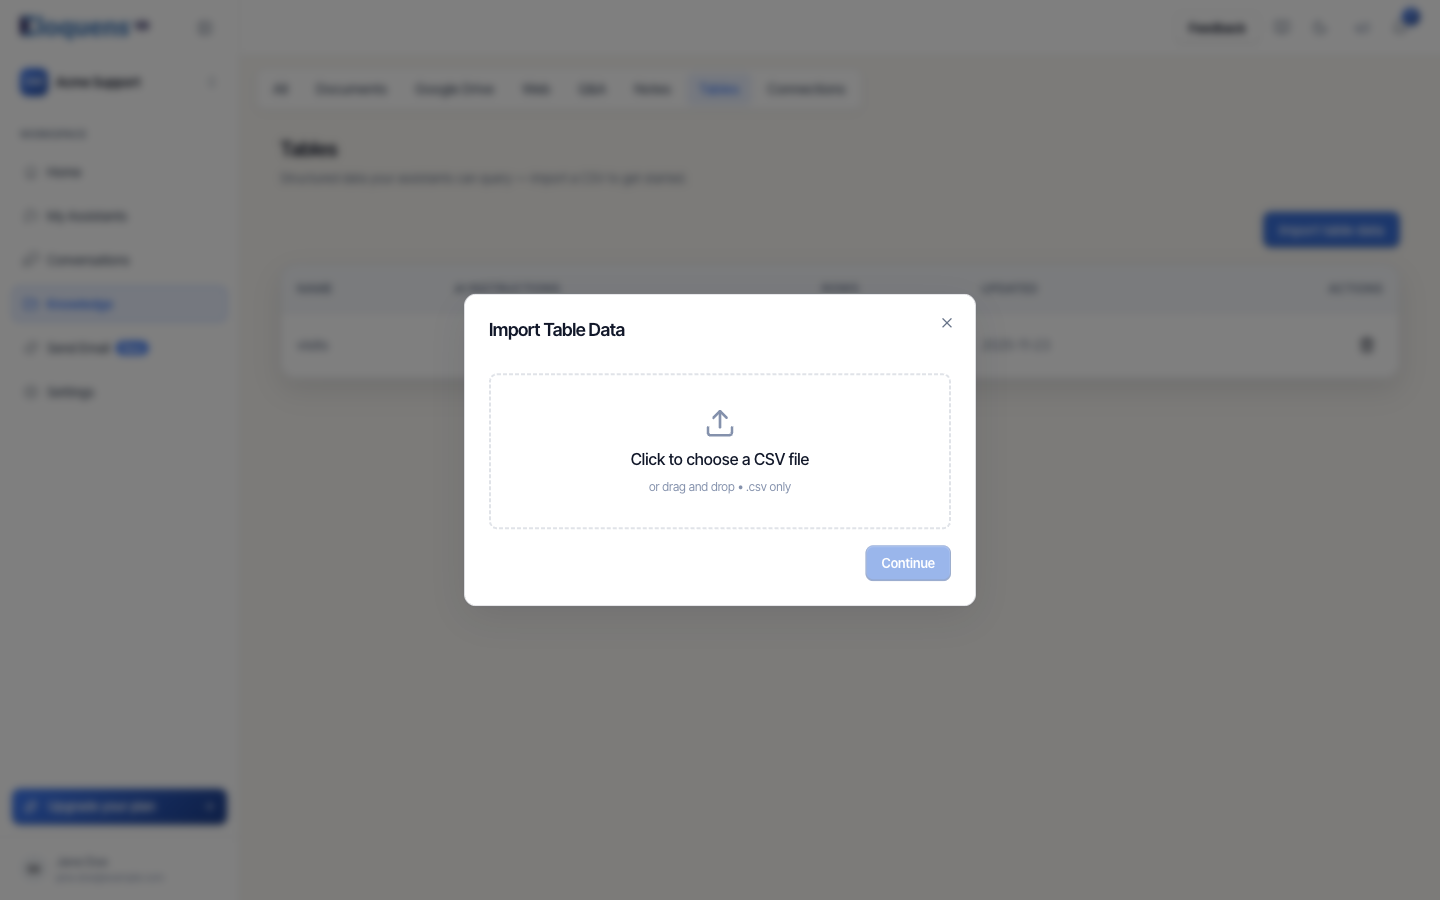
- In Import Table Data, click Click to choose a CSV file (or drag and drop; .csv only) and click Continue. CSV files up to 50 MB are accepted.
- Give the table a Table Name, for example
price-list, and click Continue. - Review the summary, Ready to import. This may take a moment., and click Start Import.
- A confirmation reports how many rows were imported into the table.
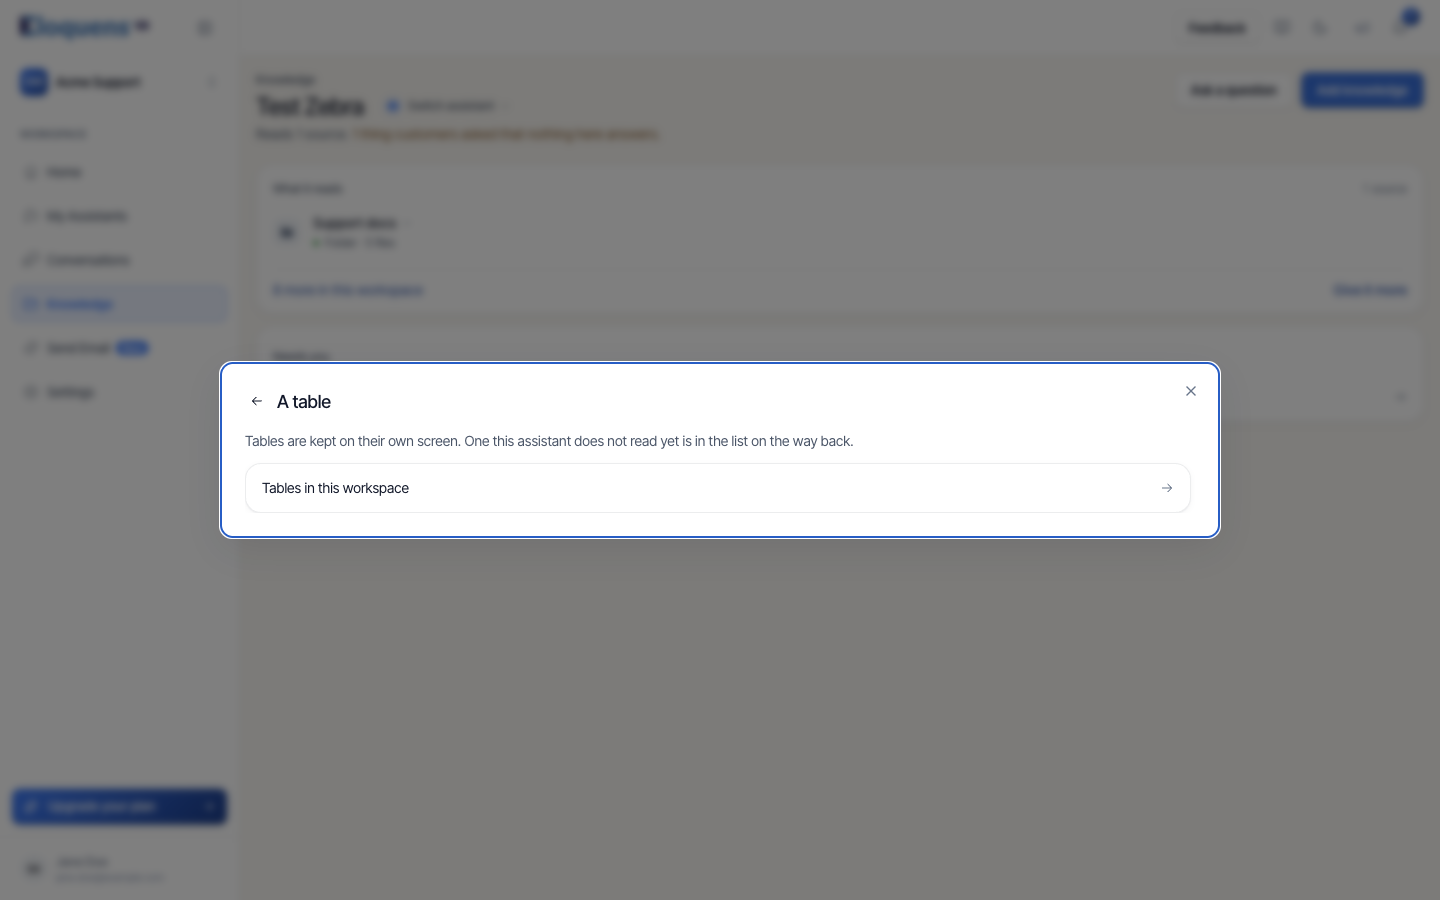
You can also start from the Knowledge page: Add knowledge, then A table under Something that changes. The panel explains Tables are kept on their own screen. One this assistant does not read yet is in the list on the way back. and Tables in this workspace opens the Tables page.
Attach the table to an assistant
A table is stored in the workspace and read only by the assistants it is attached to.
- On the Knowledge page, make sure the heading names the assistant.
- Click Add knowledge. Under Already in this workspace, find the table and click +.
On the Knowledge page the table appears under What it reads as Table · 120 rows. Clicking it opens the table.
Tell the assistant how to use the table
Each table has instructions (the AI Instructions column on the Tables page). This is where you explain what the table holds and how to look things up. The field's own example: This table contains customer information. When looking up a customer, search by their email address or customer ID.
- On the Tables page, click + Add instructions on the table's row (or Edit instructions once it has some).
- Write what the table is, which column to match on, and anything about how to present values.
- Save.
Good instructions make the difference between a table that is found and one that is ignored. Name the lookup column, and say what the columns mean if the headers are terse.
How the assistant uses a table
- It can list the tables it reads, inspect their columns, search for text across all columns, and query rows with filters. It does this only when the question calls for it.
- It writes the answer in its own words, summarising the rows it found. If a value must be quoted exactly as it appears in a cell, say so in the instructions, for example Quote the price and SKU exactly as written in the table.
- The table is read live at answer time, so an edited cell is used in the next reply.
Edit a table
Open the table from the Tables page by clicking its name.
- Back to tables returns to the list.
- Click a row to see Row details, with a copy button beside each value.
- Edit a cell and click Save changes. Add rows with the add-row form, or several at once with Bulk Add.
- Delete row removes a row; Undo last action reverses the most recent change.
- Refresh reloads the data; Show system fields reveals the internal id columns.
Delete a table
- On the Tables page, click the bin icon under Actions on its row.
- Confirm in Delete table?. The table is removed and detached from every assistant that read it. This cannot be undone.
Good to know
- The first row of the CSV is used as column names. Keep headers short and unique.
- Importing the same file again creates a second table unless you delete the first.
- A table is the right choice when the question is "what is the X for Y"; a document is the right choice when the answer is a paragraph.
Related articles
- Knowledge: what your assistant answers from
- Add documents to your knowledge
- Business connections: Salesforce, HubSpot and help centres
Soma Konate
Comments